Tappet Cover Gasket
With thanks to Ian Moorcraft and the Bristol Austin Seven Club
We have all changed tappet cover gaskets trying to stop oil leaks only to find
after a few miles you are back where you started. Some of this is down to poor
alignment of the cover on the pre 1932 flat type tappet covers.
On these early blocks the land at the top of the block is so minimal that a good
seal is difficult to achieve. It’s hard to see why the top land wasn't designed
of similar depth to the sides and bottom, this can cause oil leaks and more
fumes than is considered normal.
The later redesigned strip cork seal cover is far superior, but unfortunately
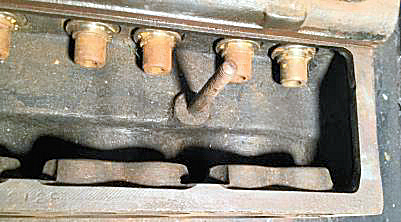
cannot be fitted to these pre 32 blocks. You can see in the photo below, a
standard cover fitted without the gasket and when lifted up as far as the holes
will allow, there is actually an open gap into the valve chest along the top.
You normally find that after a while in service the top of the cork gasket
expands in the heat. It then slips out from under the cover and forms a pocket
for the oil to collect between the cover and the gasket putting eve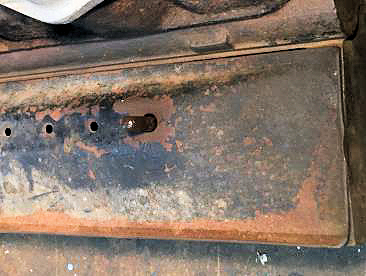 n
more pressure on the bottom joint to hold oil.
n
more pressure on the bottom joint to hold oil.
Check your cover for fit, if its like this one file the fixing holes at the
bottom to allow the cover to be pulled up tight under the block. I always stick
just the top of the gasket to the top of the tappet cover with EvoStick impact
adhesive to keep it in place. I also punch two extra holes along the bottom of
the gasket for extra drainage. I have never had a gasket slip out since the top
was stuck down, so worth thinking about the next time you change the gasket.
 Ian
Moorcraft BA7C
Ian
Moorcraft BA7C
Whilst following Ian's brilliant article, I made a slight addition and this is
an account of the work.
 Ian’s
basic premise is that the land at the top of the valve chest is very narrow and
the plate sits too low on its studs creating a slight gap (about 1/16 in.) along
the top which the gasket and its goo can’t fill, hence the inevitable oil leak.
All we have to do is to raise the cover a couple of millimetres.
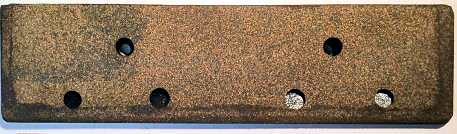
The first thing to do is to make the holes for the studs elongated
downwards so the tappet cover can slide upwards to be a solid fit to the
underside of the lip along the top of the valve chest.
This was easy, but took a bit of time getting the holes just right - not
too long and not too small – until you hear the cover plate click in place
underneath the top lip. However,
and this is where my adaptation comes in, I couldn’t stop the cover from
slipping down to rest on the bottom lip as before, still leaving the gap at the
top.
Ian’s
basic premise is that the land at the top of the valve chest is very narrow and
the plate sits too low on its studs creating a slight gap (about 1/16 in.) along
the top which the gasket and its goo can’t fill, hence the inevitable oil leak.
All we have to do is to raise the cover a couple of millimetres.
The first thing to do is to make the holes for the studs elongated
downwards so the tappet cover can slide upwards to be a solid fit to the
underside of the lip along the top of the valve chest.
This was easy, but took a bit of time getting the holes just right - not
too long and not too small – until you hear the cover plate click in place
underneath the top lip. However,
and this is where my adaptation comes in, I couldn’t stop the cover from
slipping down to rest on the bottom lip as before, still leaving the gap at the
top.
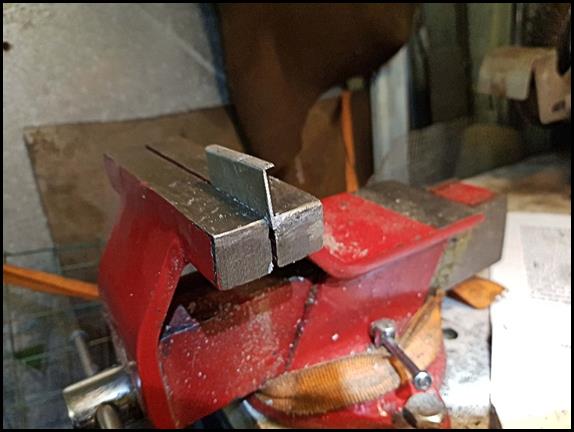
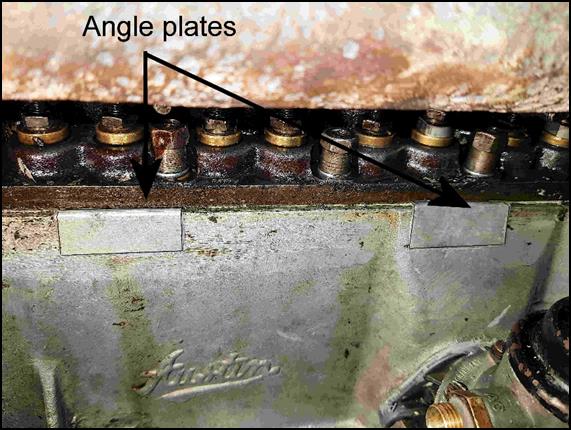 I
made two, small, right-angled pieces of 1/16th in. aluminium (1.6mm)
and stuck them on the bottom lip with a bit of goo just to hold them in place.
Then, when the cover plate is pressed home with them in place, it closes
snugly under the top lip and, as there is bags of land across the bottom of the
valve chest, the gasket now meets the land all round the chest. Finally you will
have to add a larger, fibre washer with lots of goo to stop the oil leaking out
of the new, elongated holes but, otherwise, all done.
And, a bonus is that all the work is done to the plate, on the bench, and
not under the dreaded exhaust manifold!
I
made two, small, right-angled pieces of 1/16th in. aluminium (1.6mm)
and stuck them on the bottom lip with a bit of goo just to hold them in place.
Then, when the cover plate is pressed home with them in place, it closes
snugly under the top lip and, as there is bags of land across the bottom of the
valve chest, the gasket now meets the land all round the chest. Finally you will
have to add a larger, fibre washer with lots of goo to stop the oil leaking out
of the new, elongated holes but, otherwise, all done.
And, a bonus is that all the work is done to the plate, on the bench, and
not under the dreaded exhaust manifold!
After a couple of longish runs there is still no oil pouring on to the garage
floor after each outing. Many
thanks, Ian – nice one!
David Whetton DA7C
In an effort to prevent oil leaking onto the ground I fitted a silicone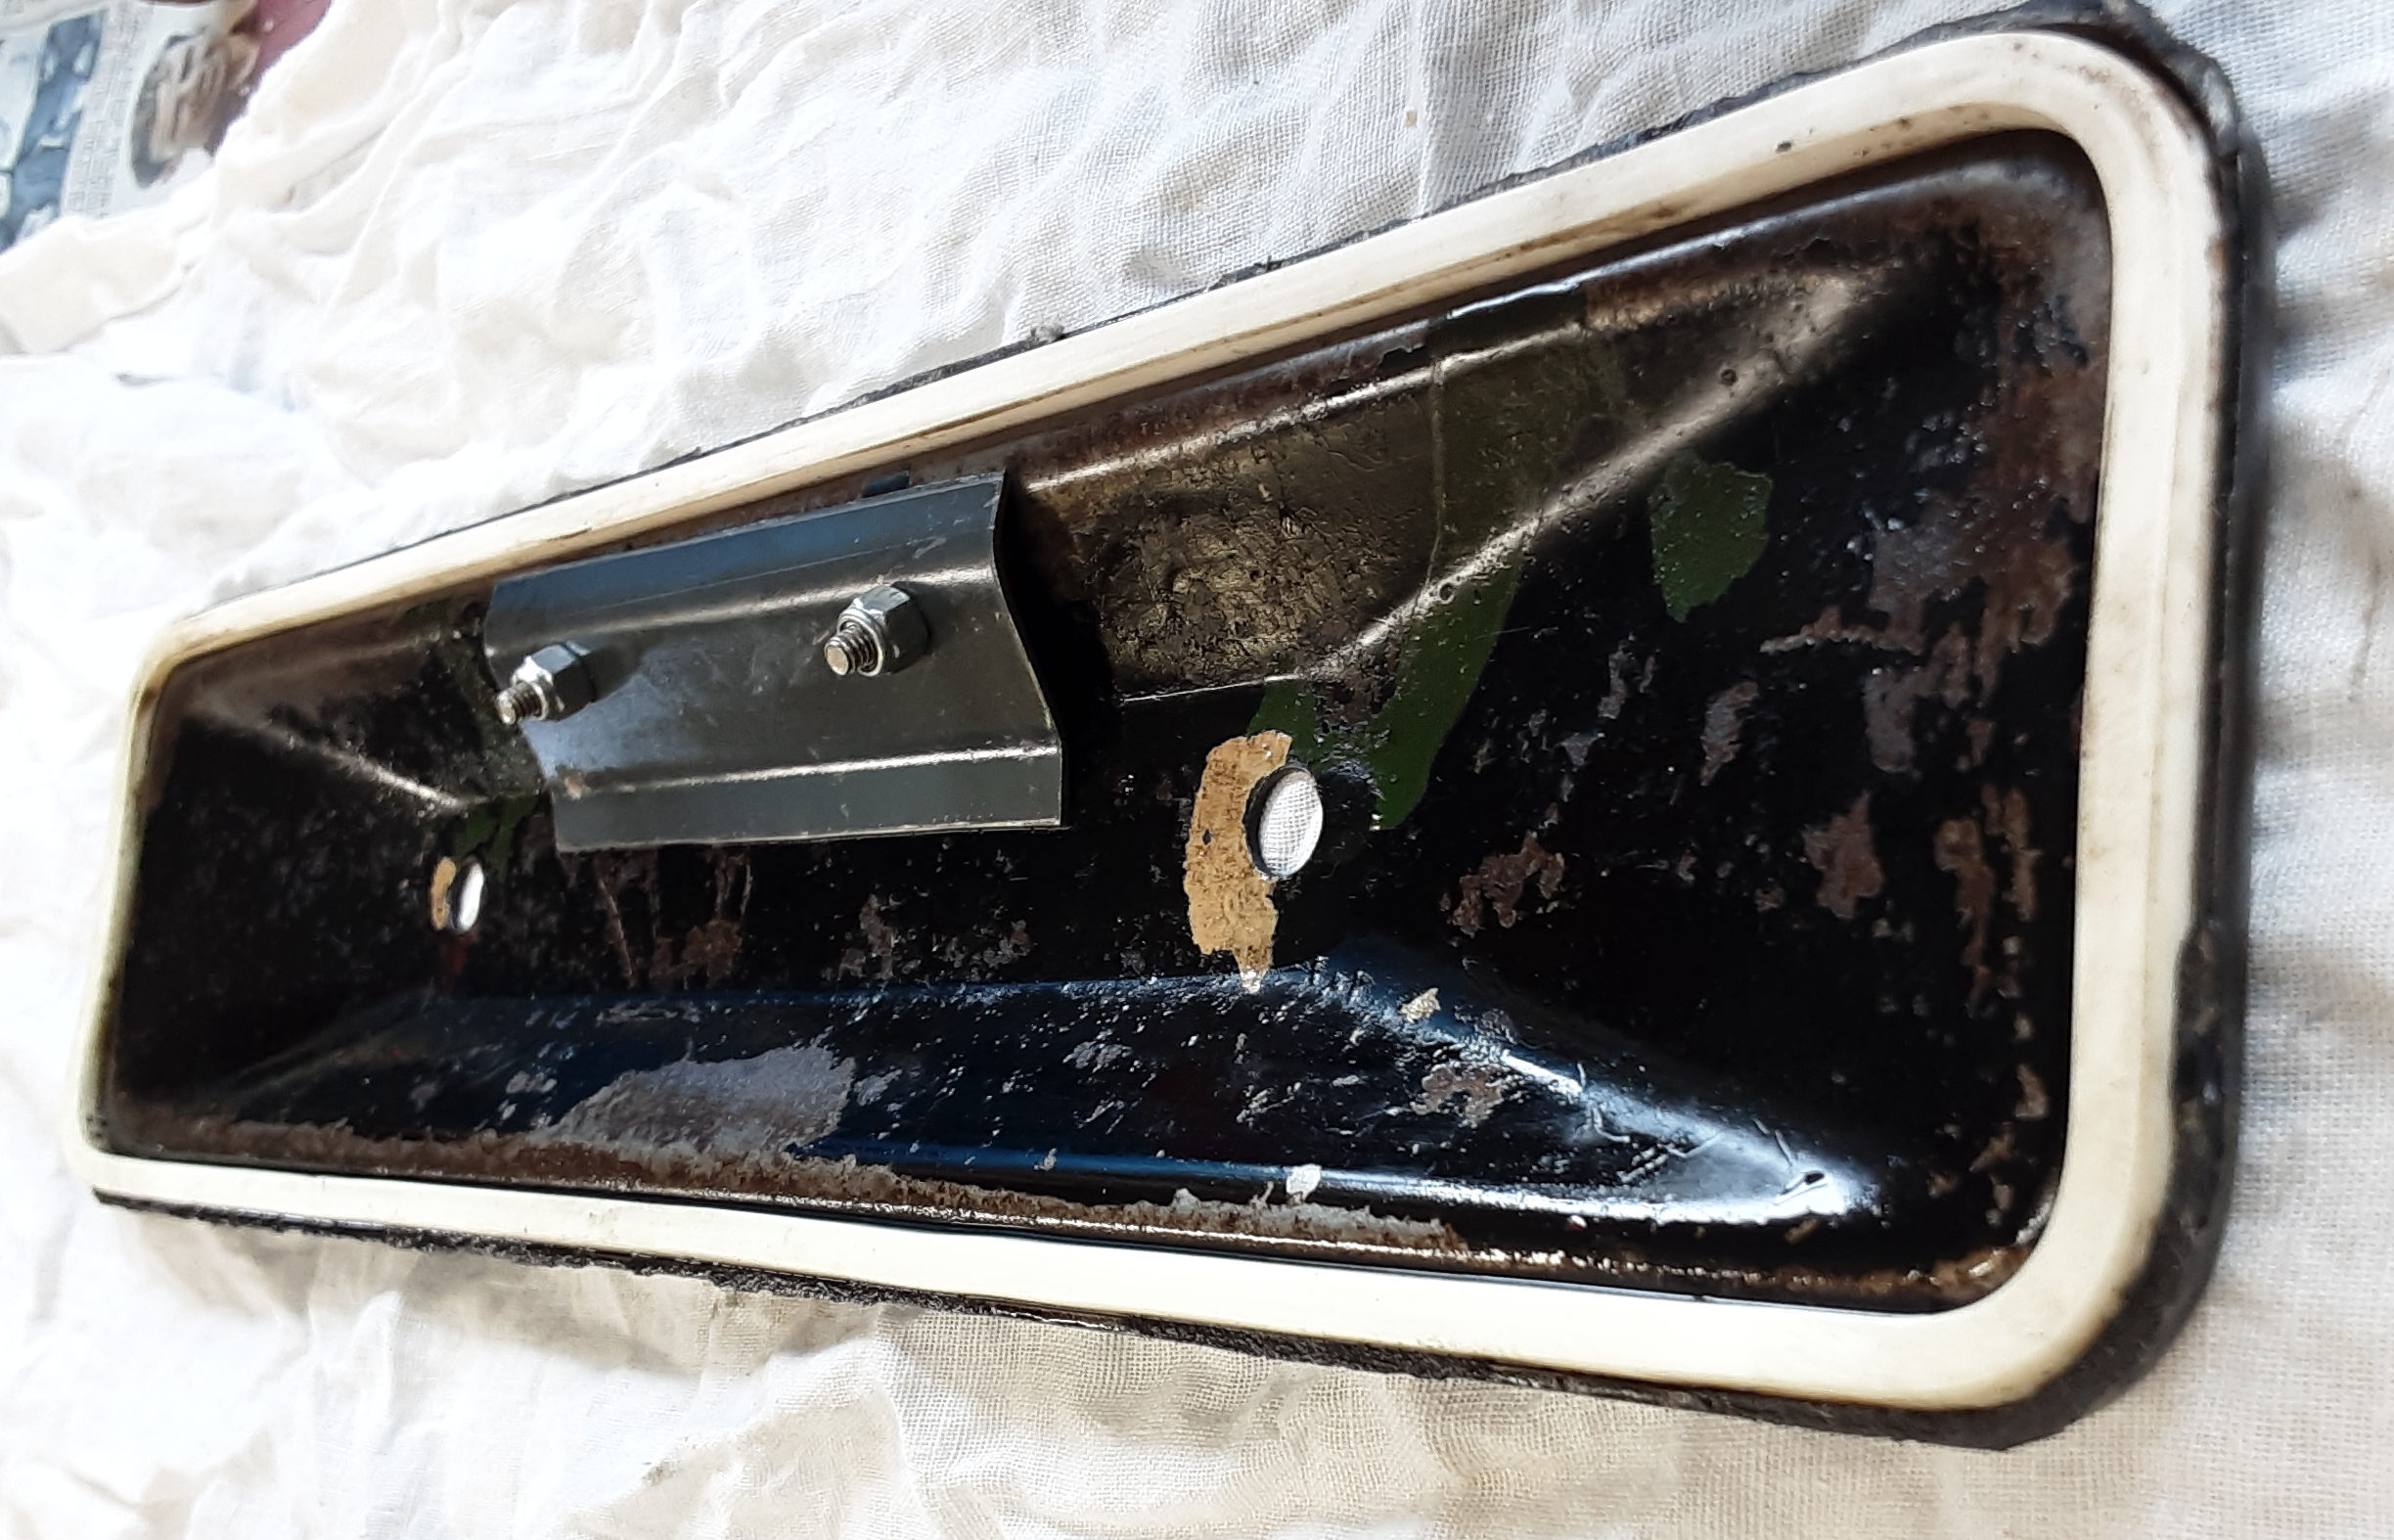 gasket to
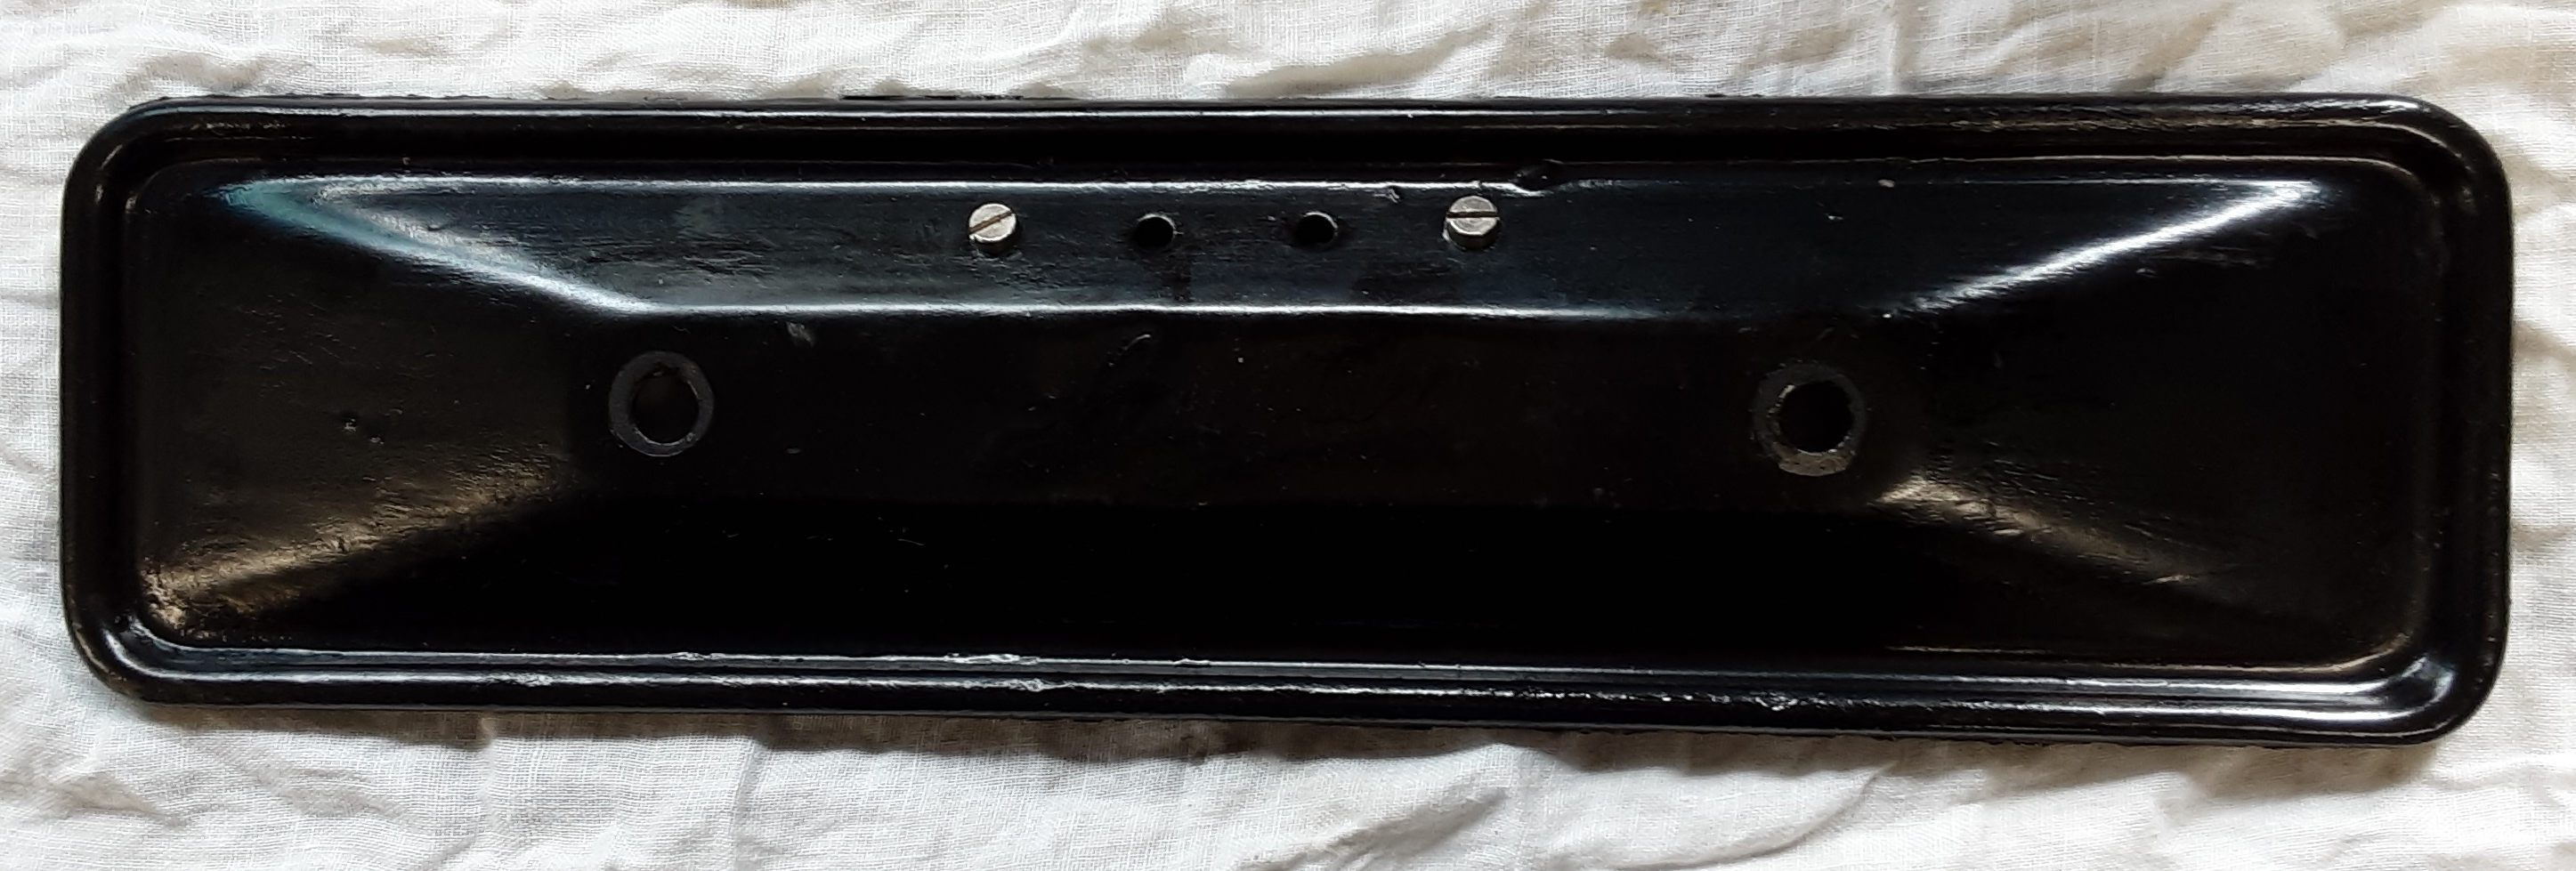 the tappet cover, but the cover has holes in it, which allow oil to dribble out!
My solution was to fit a plate spaced over the holes that allows air pressure to
escape but to retain oil.
the tappet cover, but the cover has holes in it, which allow oil to dribble out!
My solution was to fit a plate spaced over the holes that allows air pressure to
escape but to retain oil.
Geoff Kingsland DA7C