REPAIRING A LEAKING FUEL TANK ON A LWB BOX
I first tried to repair a small, pin prick of a leak at the bottom of the tank
without removing the tank and working underneath it lying on my back.
I used the well-known “Petro Patch” but it failed on two attempts. Having
eventually decided to remove the tank completely and do a “proper job”, the
reason for failure became clear – on restoration, the tank had been completely
encased in filler so when, underneath the car in poor light, I had thought I had
removed the old paint back to bare metal, I was only going back to old filler.
No wonder the Petro Patch didn’t have a chance! So here’s the story of my
‘proper job’.
Before starting the repair, one has to decide on the method of repair as there
are several ways of doing this, kindly suggested by members:
·
Filling the hole with a self-tapping screw, suitably encased in Araldite
·
Applying a patch –
o
of fibreglass mat
o
of metal
o
a small coin
·
Sticking the patch -
o
with fibreglass resin
o
with Araldite
o
with solder.
Clearly, the last method is the most professional, but I don’t have confiden ce
in my soldering skills to securely seal a long edge.
Roger Ballard came up with an Araldite product, 2014-2, used in the motor
industry with superior adhesive and petrol resistance properties which I managed
to find on E-bay. However, a quick
word of warning here – it is a two-pack item which needs a dedicated applicator,
sold separately. I bodged it with
two bits of dowel but got into a right old mess!
The adhesive is more spongy than traditional Araldite and seems ideal for
fixing a flat plate onto a relatively flat surface as it has a filling quality
as well as an adhesive one.
ce
in my soldering skills to securely seal a long edge.
Roger Ballard came up with an Araldite product, 2014-2, used in the motor
industry with superior adhesive and petrol resistance properties which I managed
to find on E-bay. However, a quick
word of warning here – it is a two-pack item which needs a dedicated applicator,
sold separately. I bodged it with
two bits of dowel but got into a right old mess!
The adhesive is more spongy than traditional Araldite and seems ideal for
fixing a flat plate onto a relatively flat surface as it has a filling quality
as well as an adhesive one.
REMOVING THE TANK
Before trying to remove the tank clear the decks –
·
Drain the tank
·
Remove the rear wheels
·
Remove the spare tyre
·
Disconnect the rear exhaust brackets and pull the exhaust pipe as far as
possible to the nearside and tie in place with a piece of rope around the rear
hub.
·
Remove the petrol take-off pipe from the rear of the tank.
·
Inside the car, remove both the rear squabs, remove the access cover plate and
remove the wire from the sender unit. (At this stage you may be able to pull off
the wire from the outside but to put it back and tighten up the tiny screw will
be near impossible once the tank is back in place.)
This is now where it gets interesting. In theory there are only four nuts on
studs holding the tank in place but in my case this simple operation took at
least an hour as the tank just wouldn’t budge.
Eventually of course, it suddenly released itself.
I had supported the tank with a length of wood on top of a hydraulic jack
but that all got in the way whilst struggling to release the tank.
CLEANING OUT THE TANK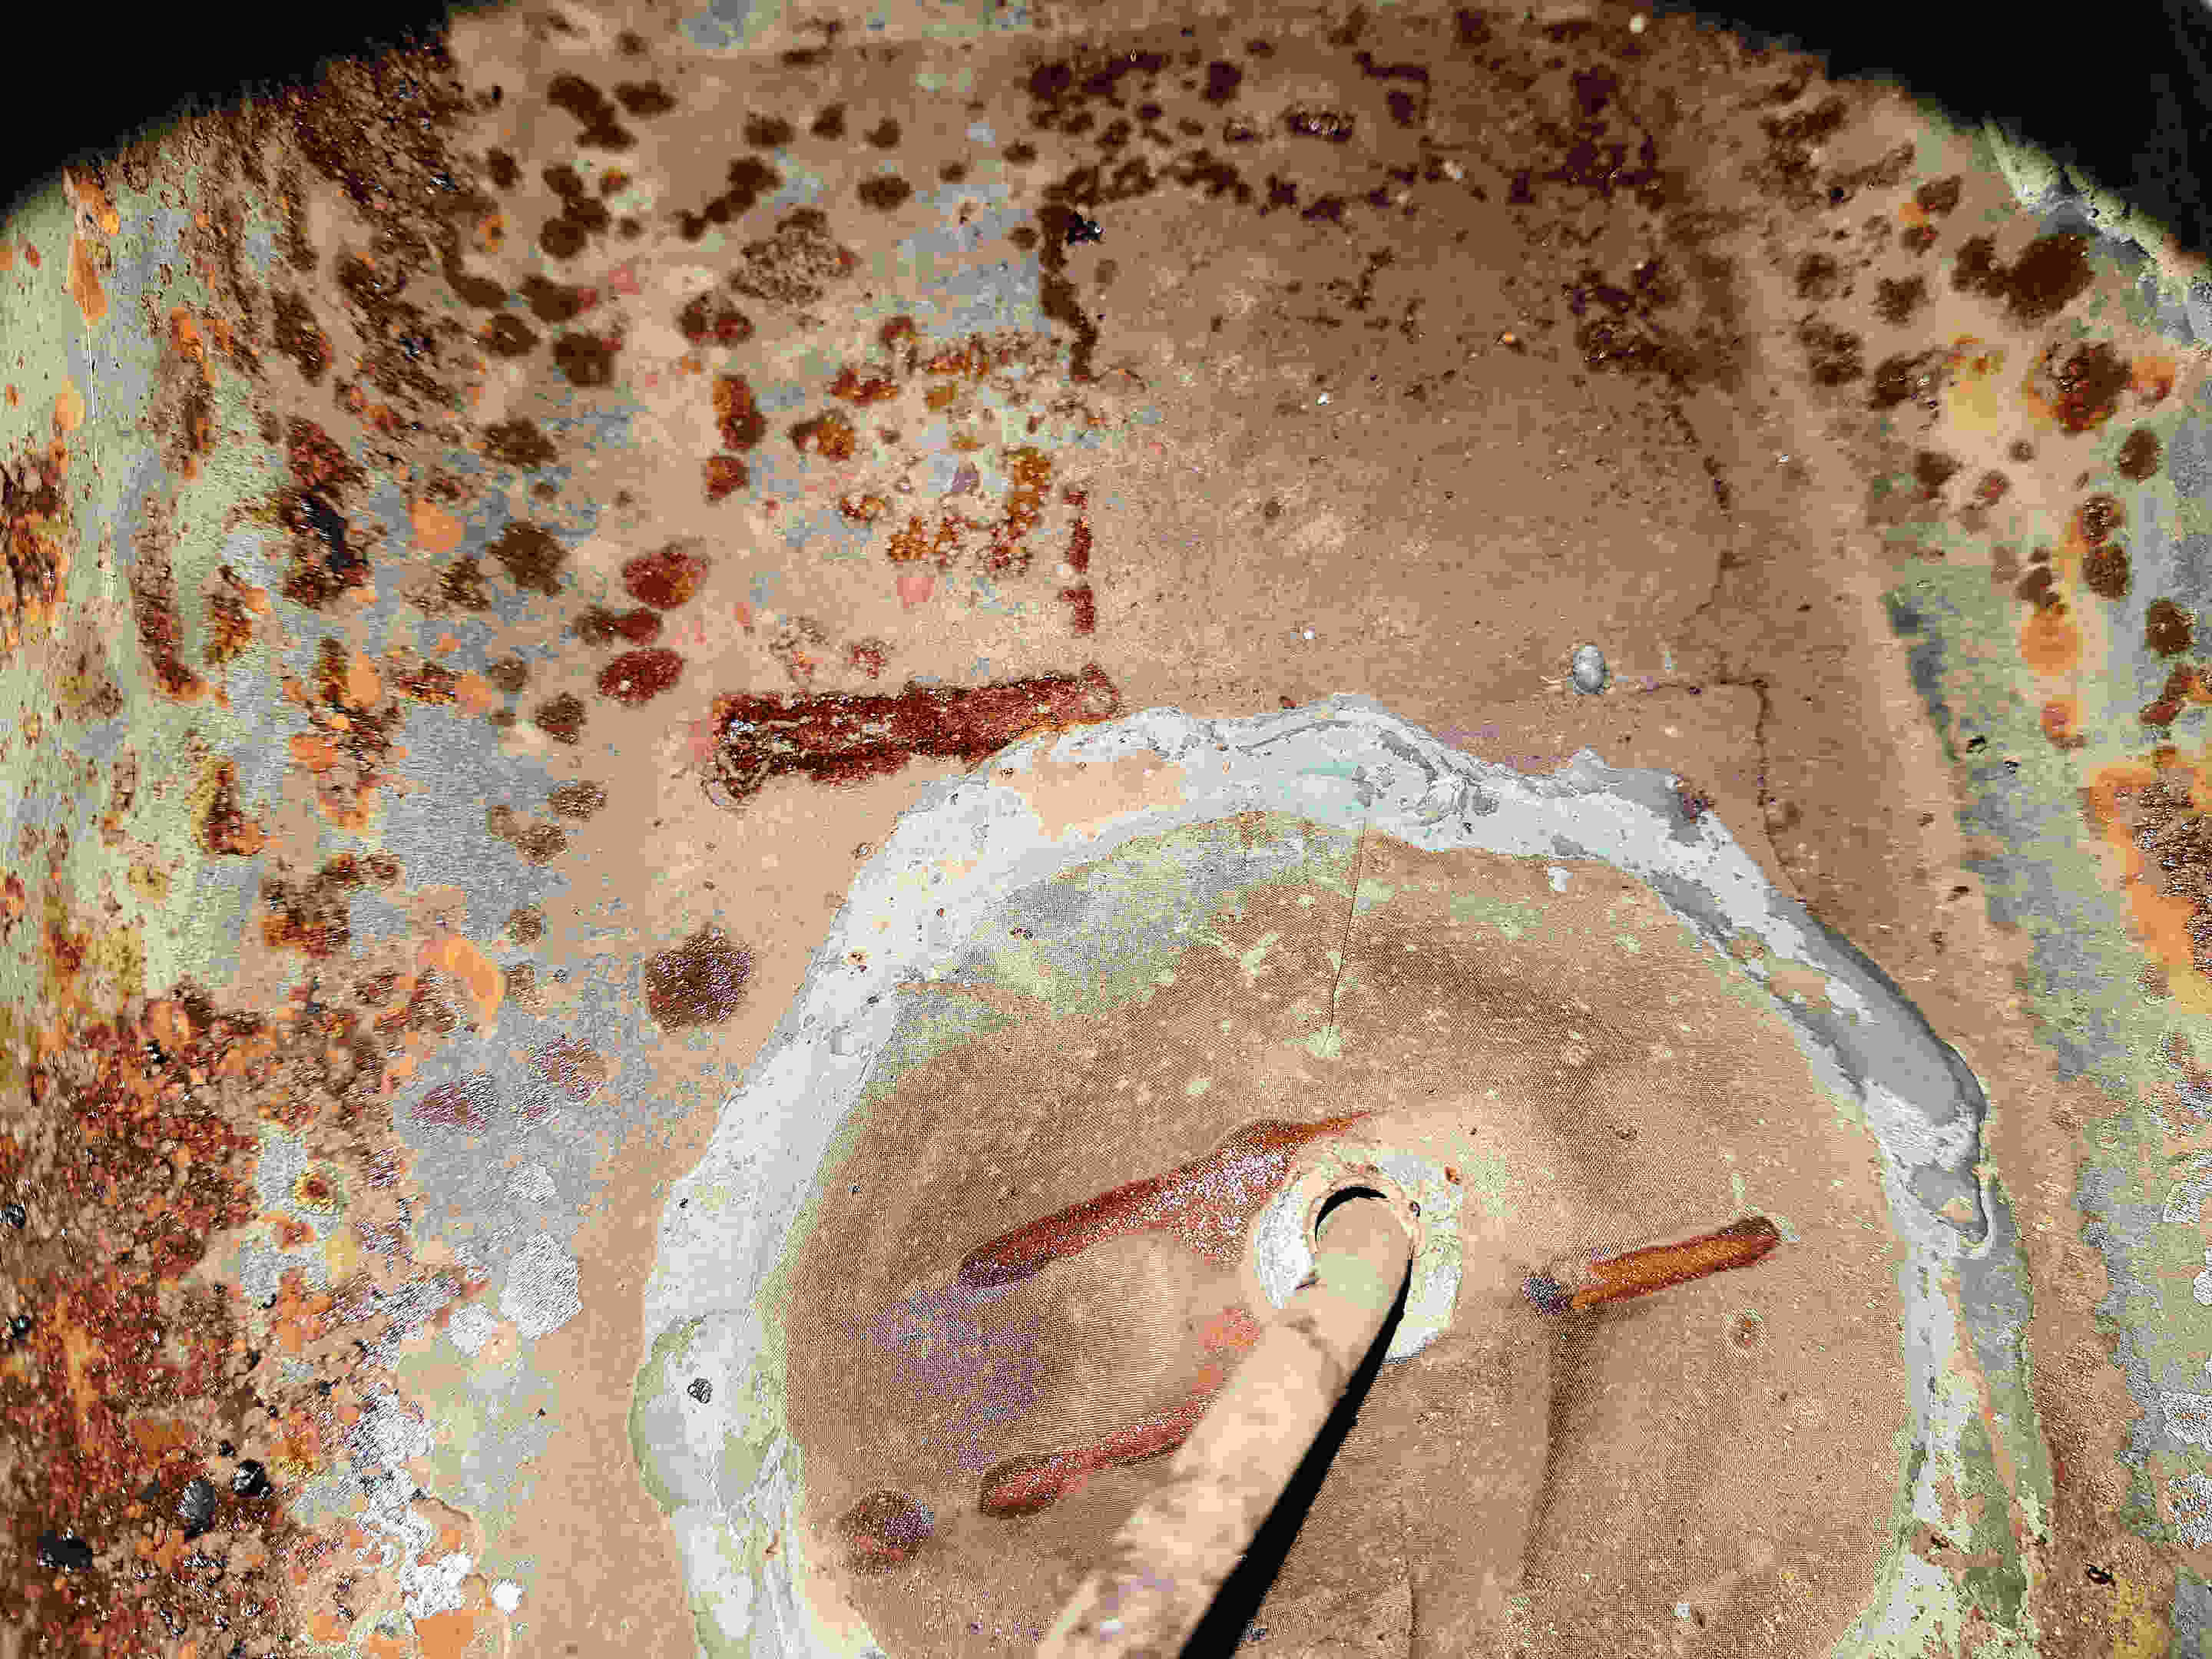
Water is the only practical way to clear out all the rust from inside the tank,
and I assiste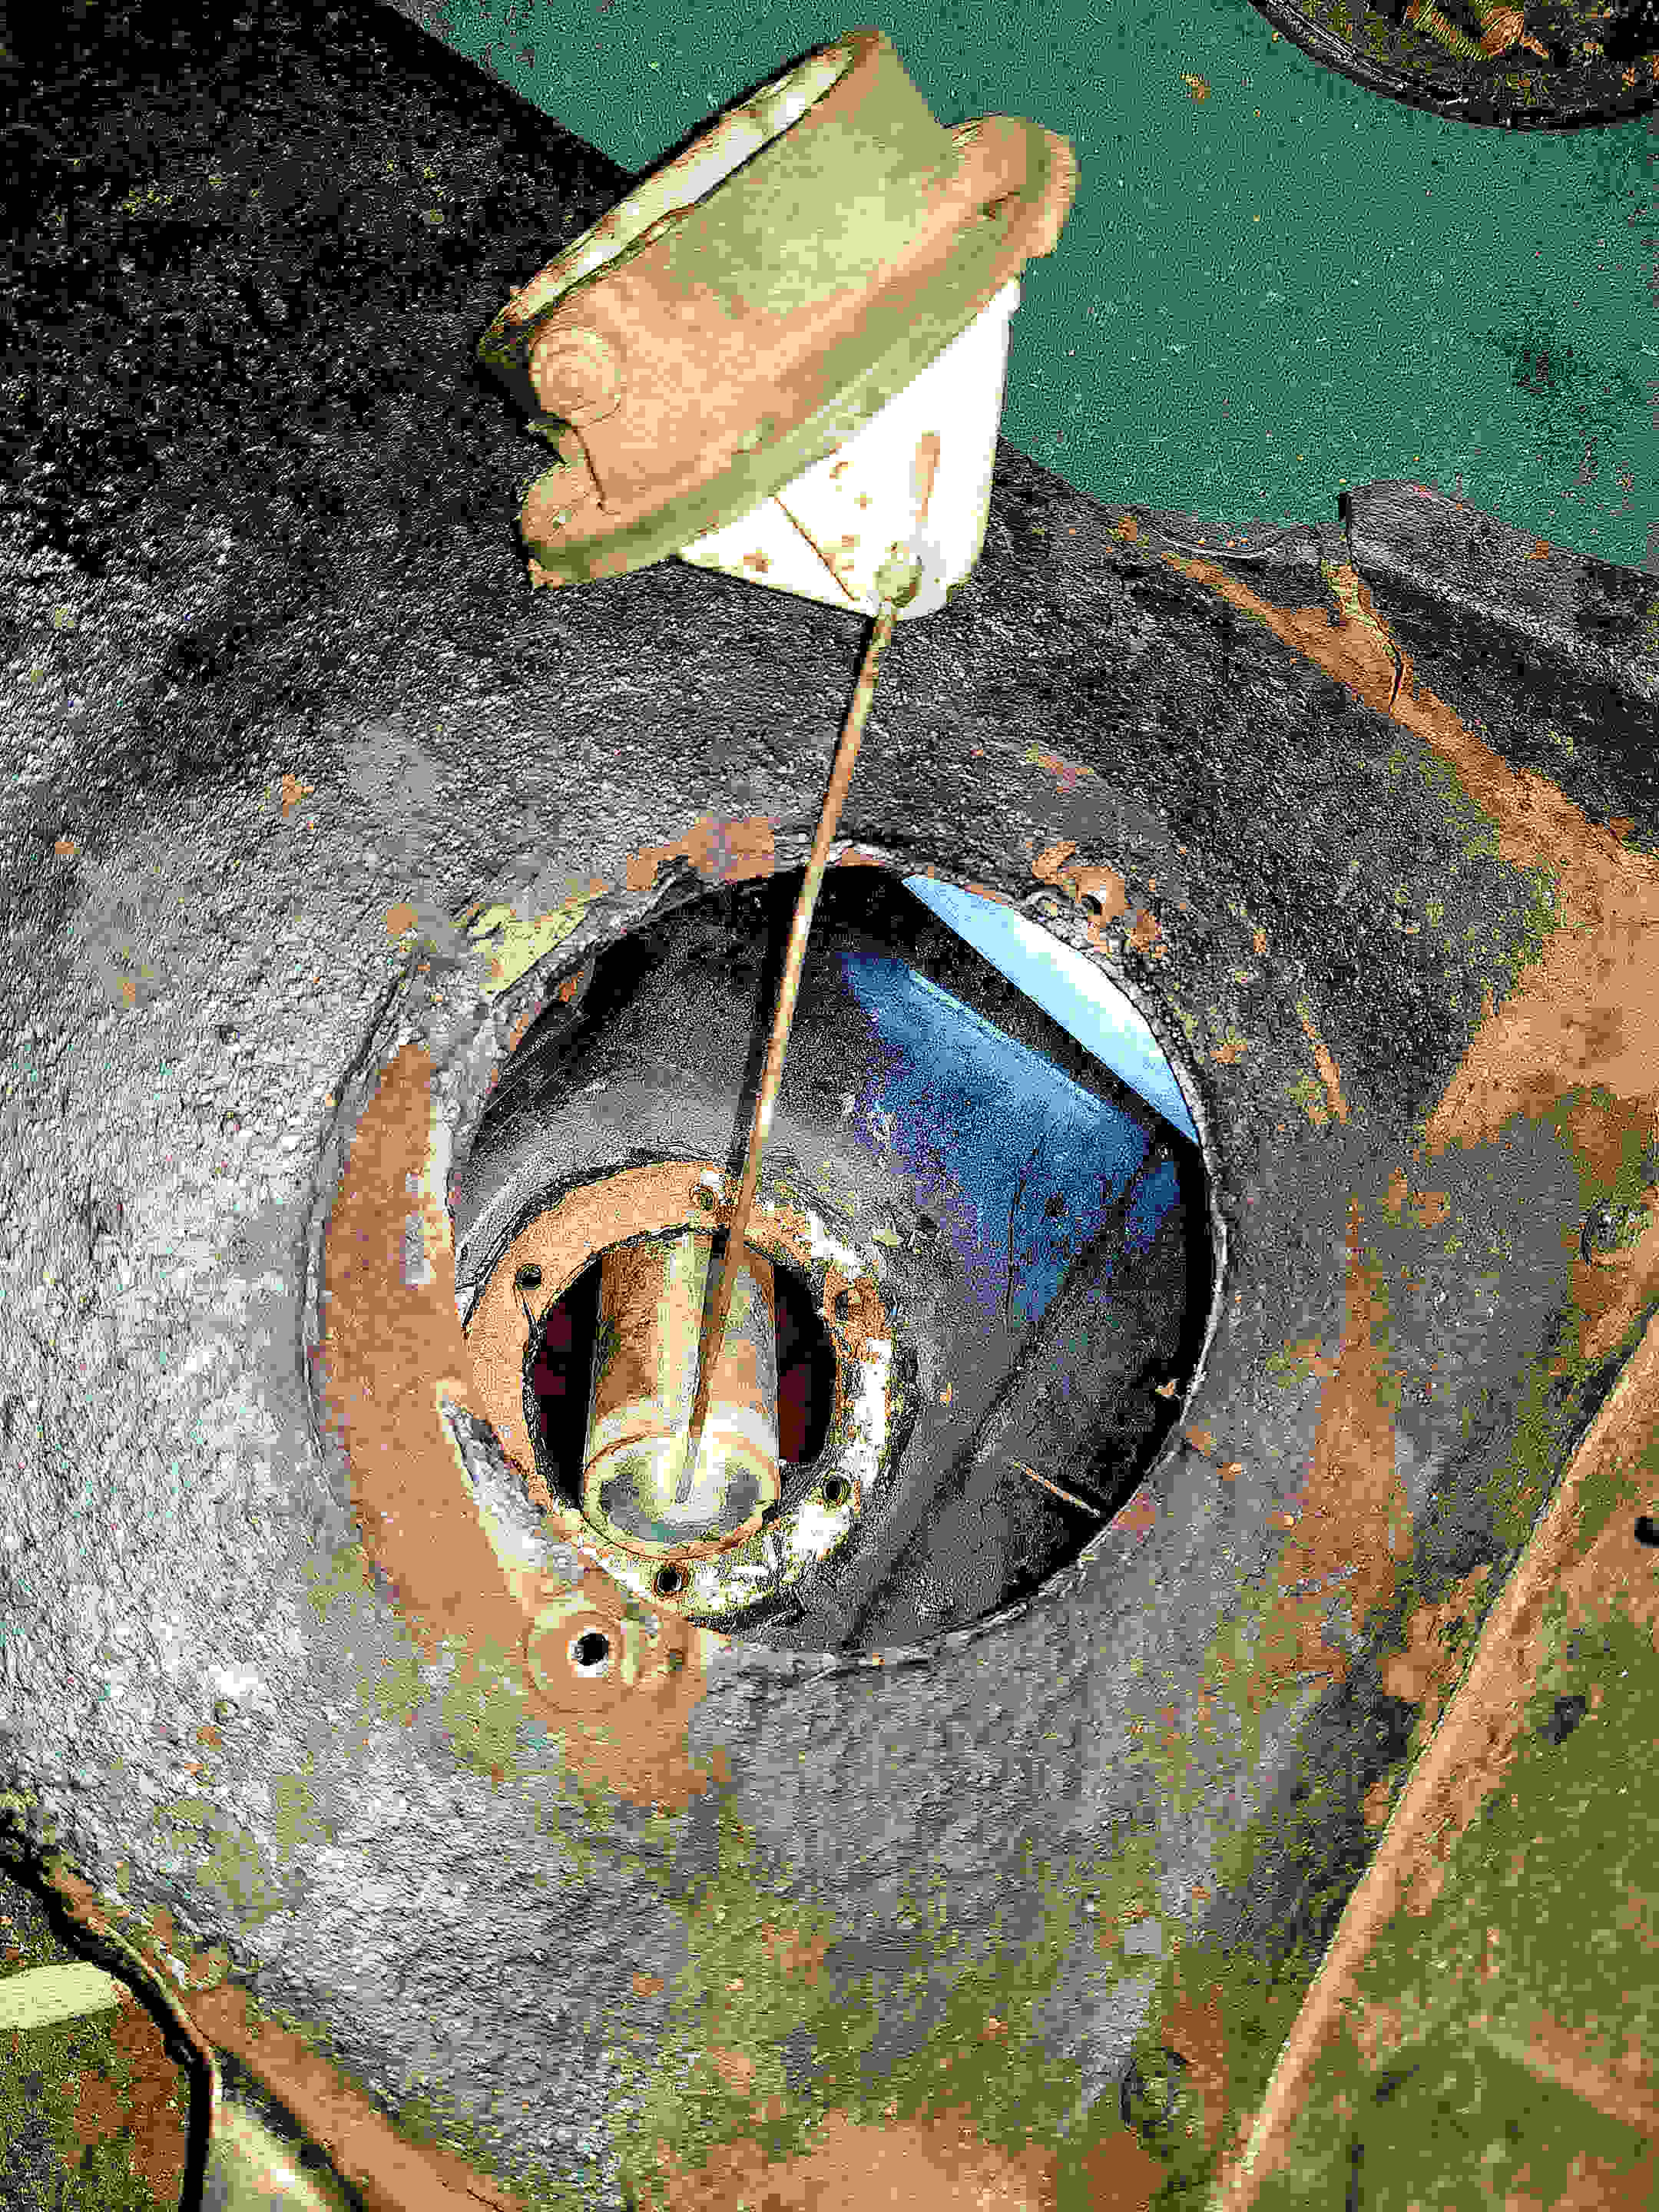 d the process with a power jet washer.
This has the bonus of removing all traces of petrol fumes. But using the
jet wash and shaking the water around in the tank, I thought it was sensible to
first remove the float mechanism.
This was very easy – just remove the six outside screws and fiddle out the
float. At this stage, with all the
scare of ethanol, it’s wise to shake the float itself to make sure there isn’t
any petrol inside as it’s sealed with a blob of solder like the float in the
carburettor. And while, you’re at
it, give the wires on the resistor panel a very light rub with fine wet-and-dry
being carful not to snag the wire actuator arm.
d the process with a power jet washer.
This has the bonus of removing all traces of petrol fumes. But using the
jet wash and shaking the water around in the tank, I thought it was sensible to
first remove the float mechanism.
This was very easy – just remove the six outside screws and fiddle out the
float. At this stage, with all the
scare of ethanol, it’s wise to shake the float itself to make sure there isn’t
any petrol inside as it’s sealed with a blob of solder like the float in the
carburettor. And while, you’re at
it, give the wires on the resistor panel a very light rub with fine wet-and-dry
being carful not to snag the wire actuator arm.
REPAIRING THE LEAK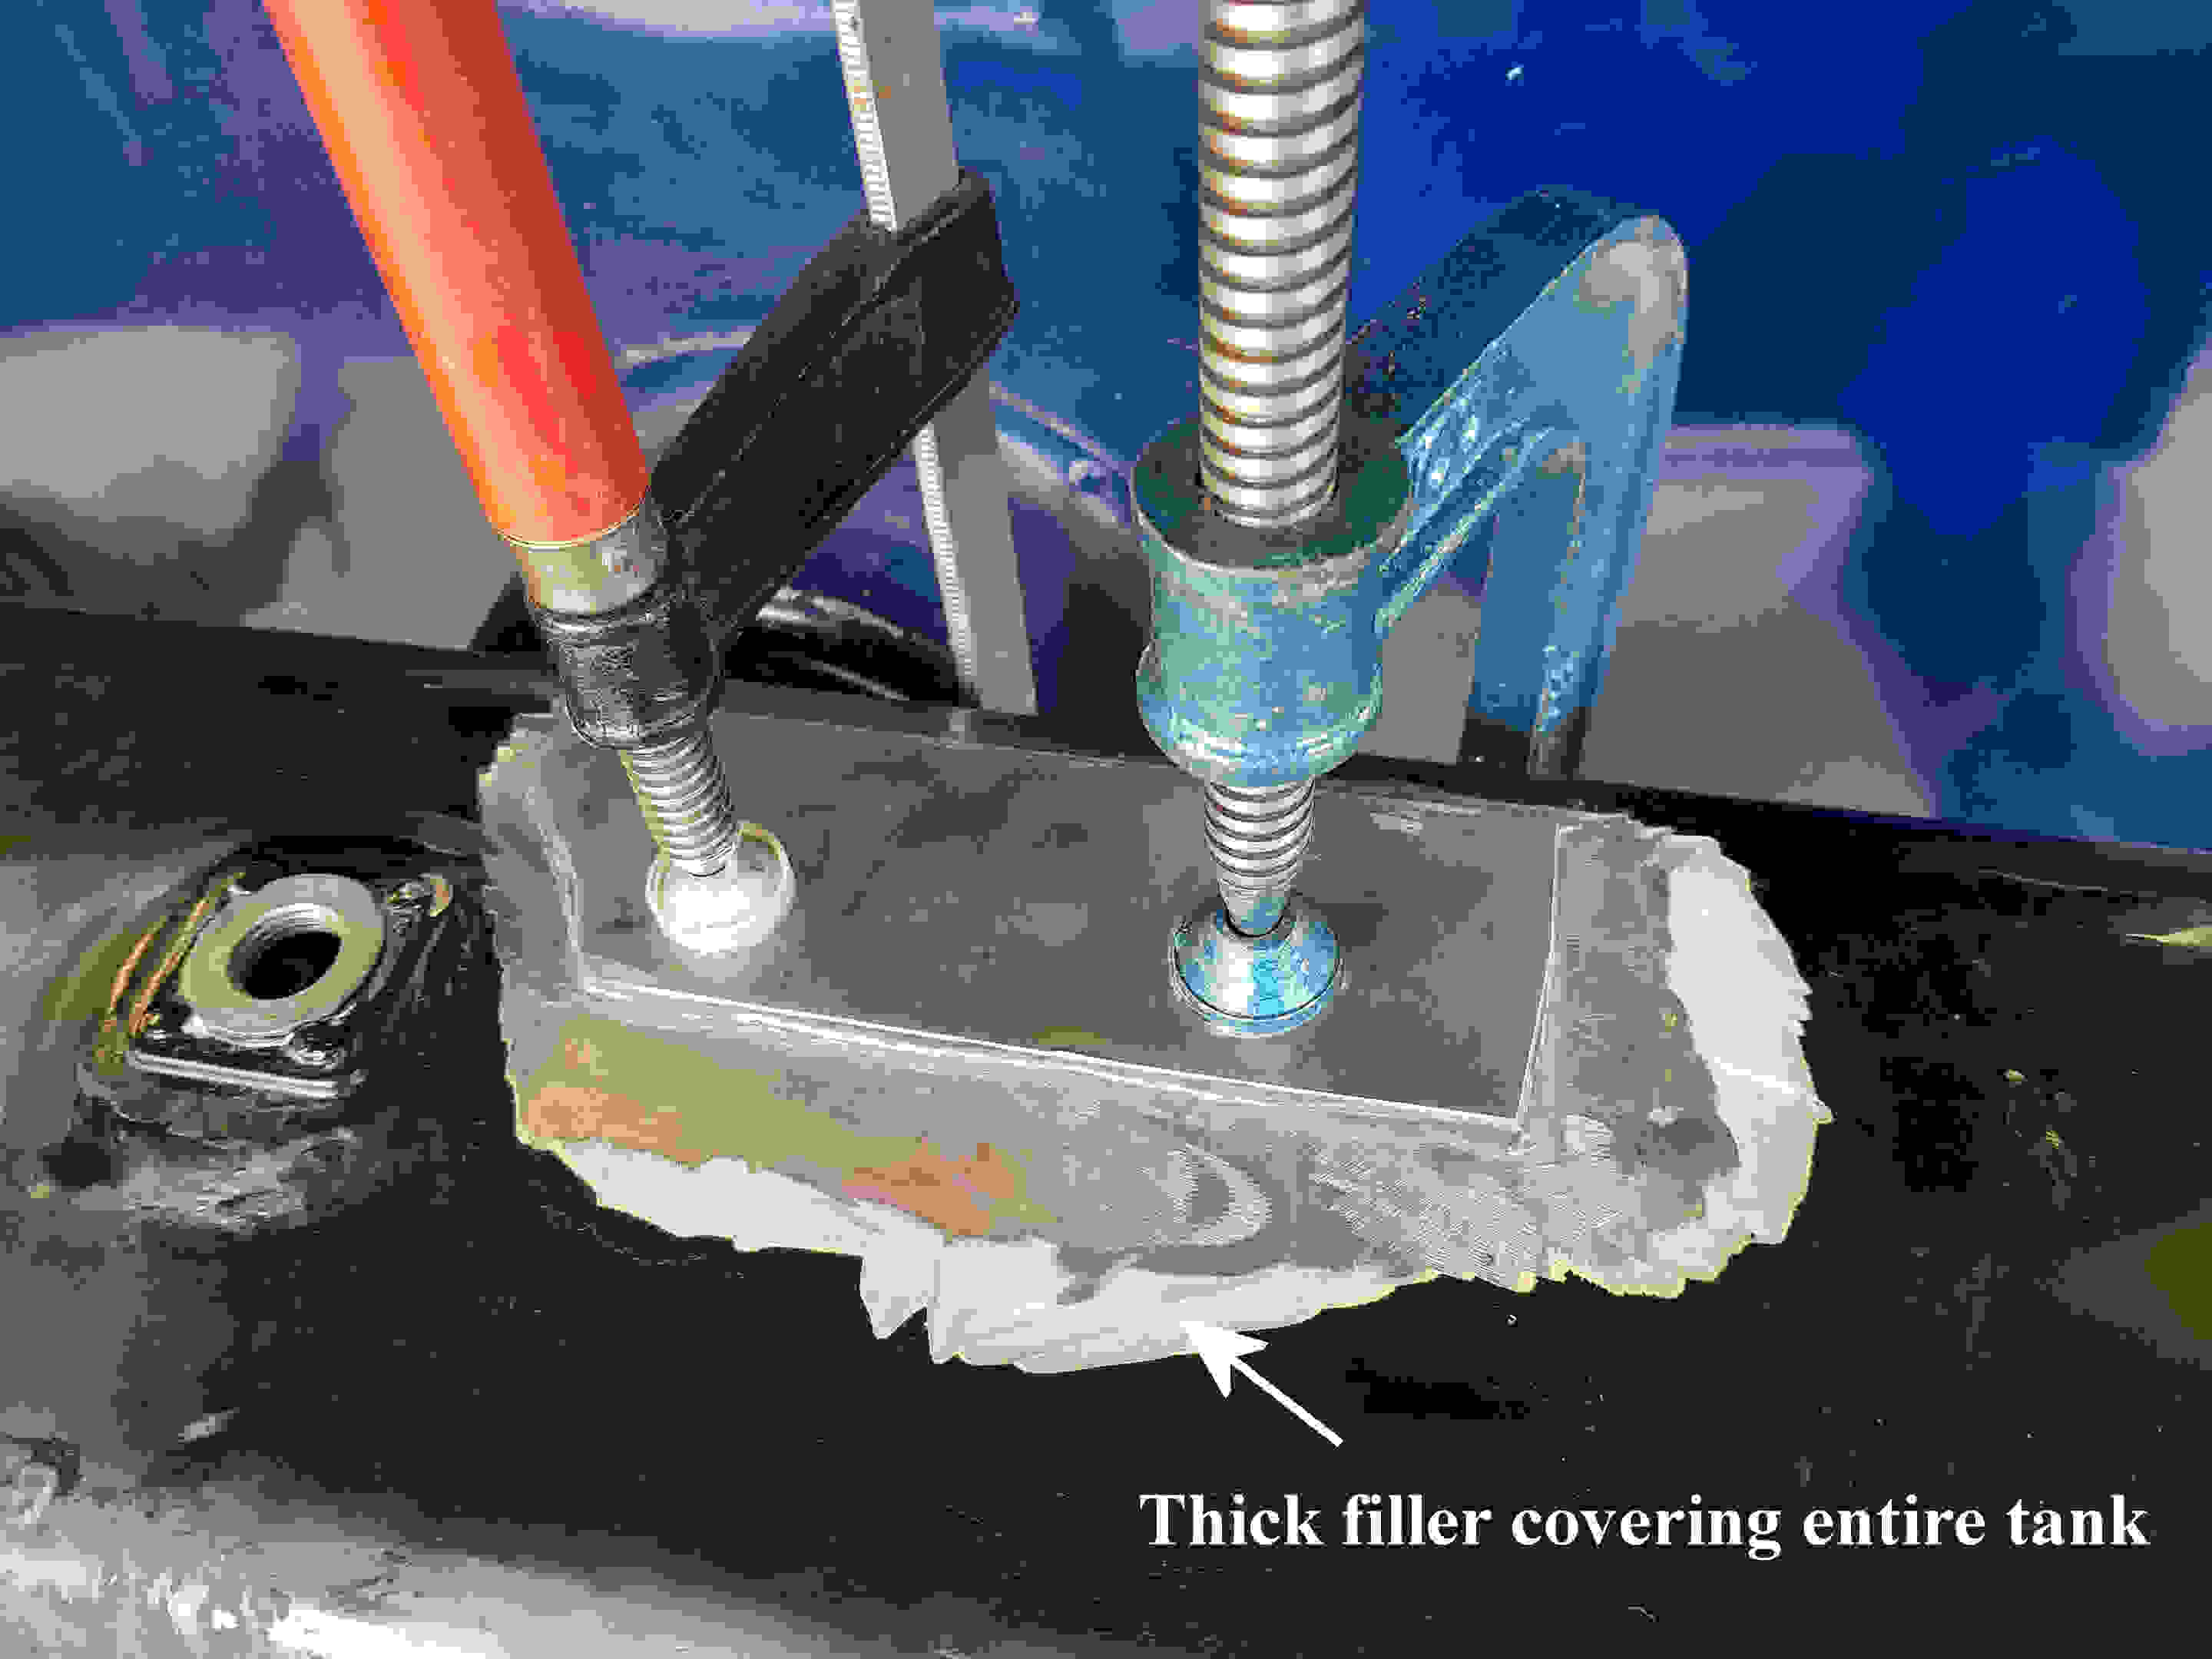
For each of the methods of patching, you will need to go back to bare metal and
it is essential to check there are no petrol fumes left in the tank – as we
know, it’s the fumes that explode, not the liquid itself.
I left mine to dry overnight and even then used a decorating heat gun to
blast warm air throughout the tank for 10 minutes.
This also had the added effect of warming the tank ahead of applying the
adhesive.
I chose to stick a metal plate about 5 ins by 3 inches over the area where I
found two small holes so prepared the plate back to bright, shiny metal and took
the angle grinder to the tank to take all the old paint and filler back to bare
metal, cleaning both with brake cleaner spray (not petrol as advised in
the adhesive instructions).
I chose to stick on the plate with Araldite 2014-2 but, as described earlier, I
had only bought the two-pack of adhesive, not the applicator.
This particular type came with a clever, spiral mixing tube down which
the two components were twisted together to mix them thoroughly.
Unfortunately, this process proved far
too hard to push with one’s fingers (hence the need for the dedicated
applicator). I made a bodge using
two different sized pieces of dowel and a small block of wood as a pusher but,
although it worked, there was a bit of a mess as the dowels weren’t a flush fit.
But it worked, the adhesive mixed by hand with a plastic card as usual, a
nice thick coat applied to the plate and the plate secured in position with two
large clamps. The adhesive takes 24
hours to set. The next morning,
only 12 hours in, I had a little poke at the adhesive at the edge and it was
still spongy but, not to worry, after the full 24 hours, it felt rock hard.
I decided to smooth-over the hard edge
of the plate with filler so all that was then left to do was to sand down the
filler, prime and paint for a beautiful finish.
While the tank was on the bench, I noticed the rim of the filler tube was
bent in places but, being brass, was easily straightened flat with pliers.
Testing it with the cap, I learned for the first time how to put on the
petrol cap properly – press down as usual but twist only slightly and release
so that the pressure plate is pressing down on the rim of the tube; continue to
twist without pressing down and the cap will hit the small end tangs without
jumping into the next hole. And
I’ve had Austin Sevens for 60 years!!!
REPLACING THE TANK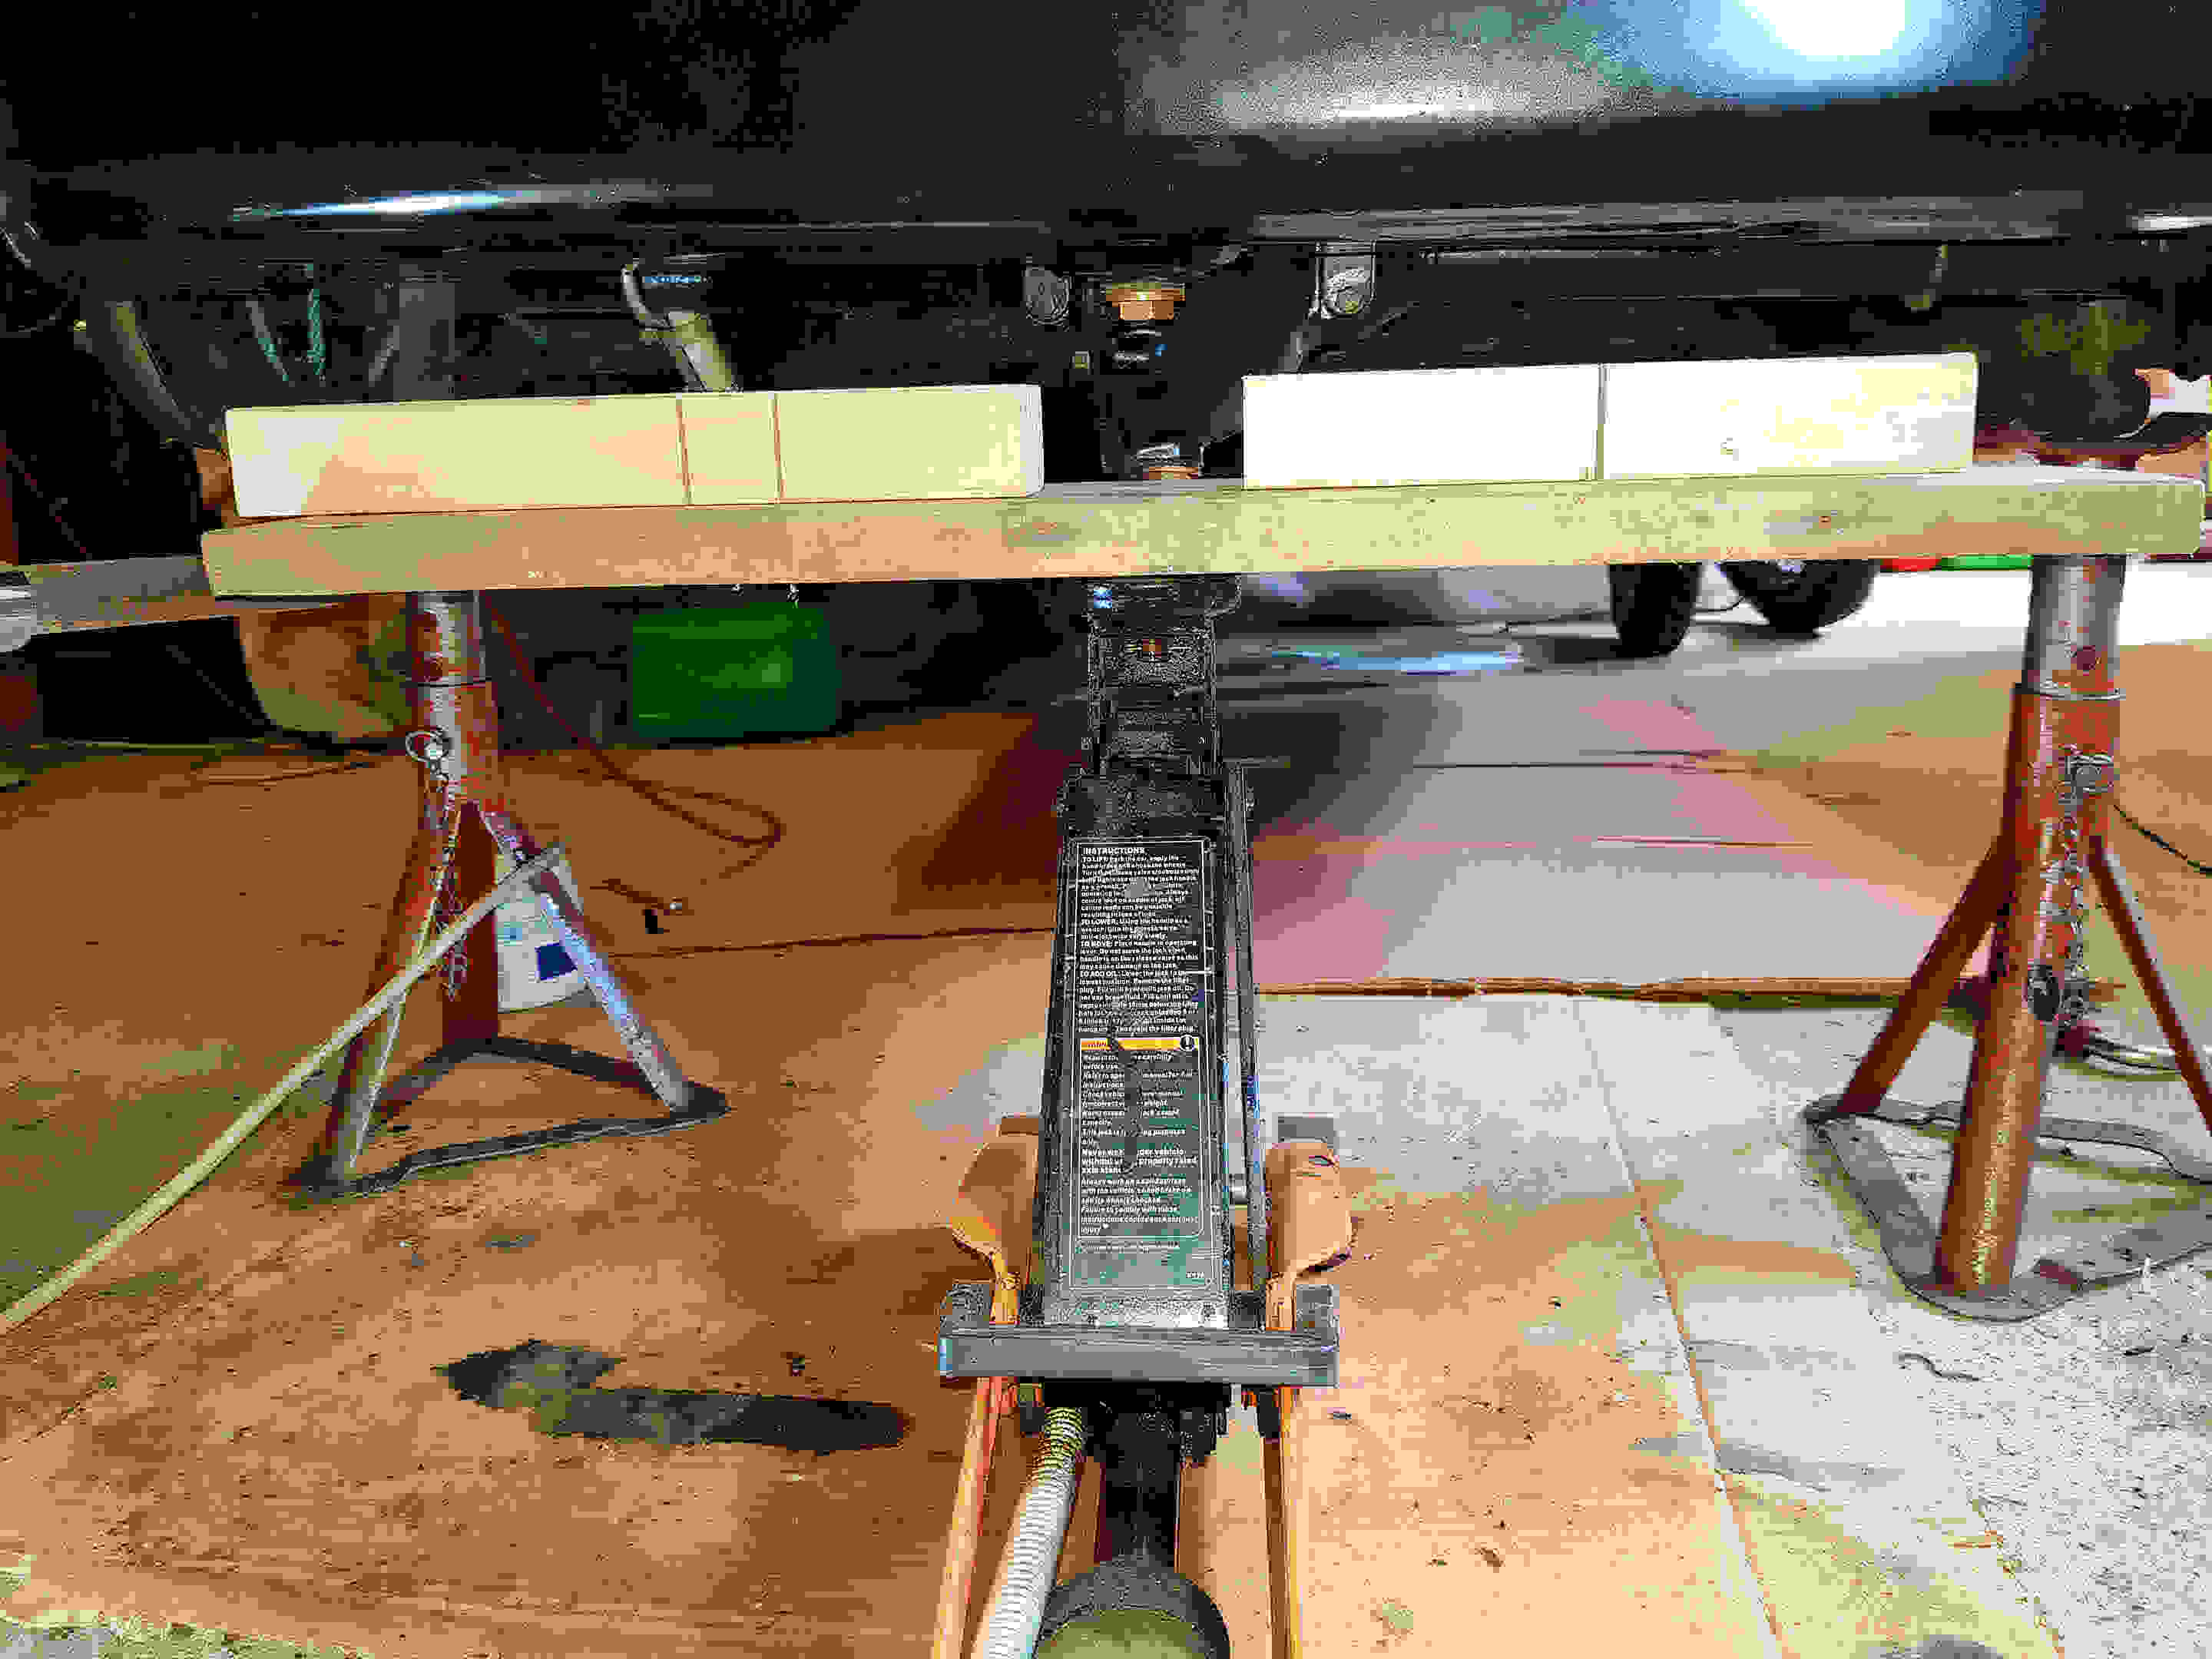
As they used to say in Haynes manuals, replacing the tank is the reverse of the
previous meth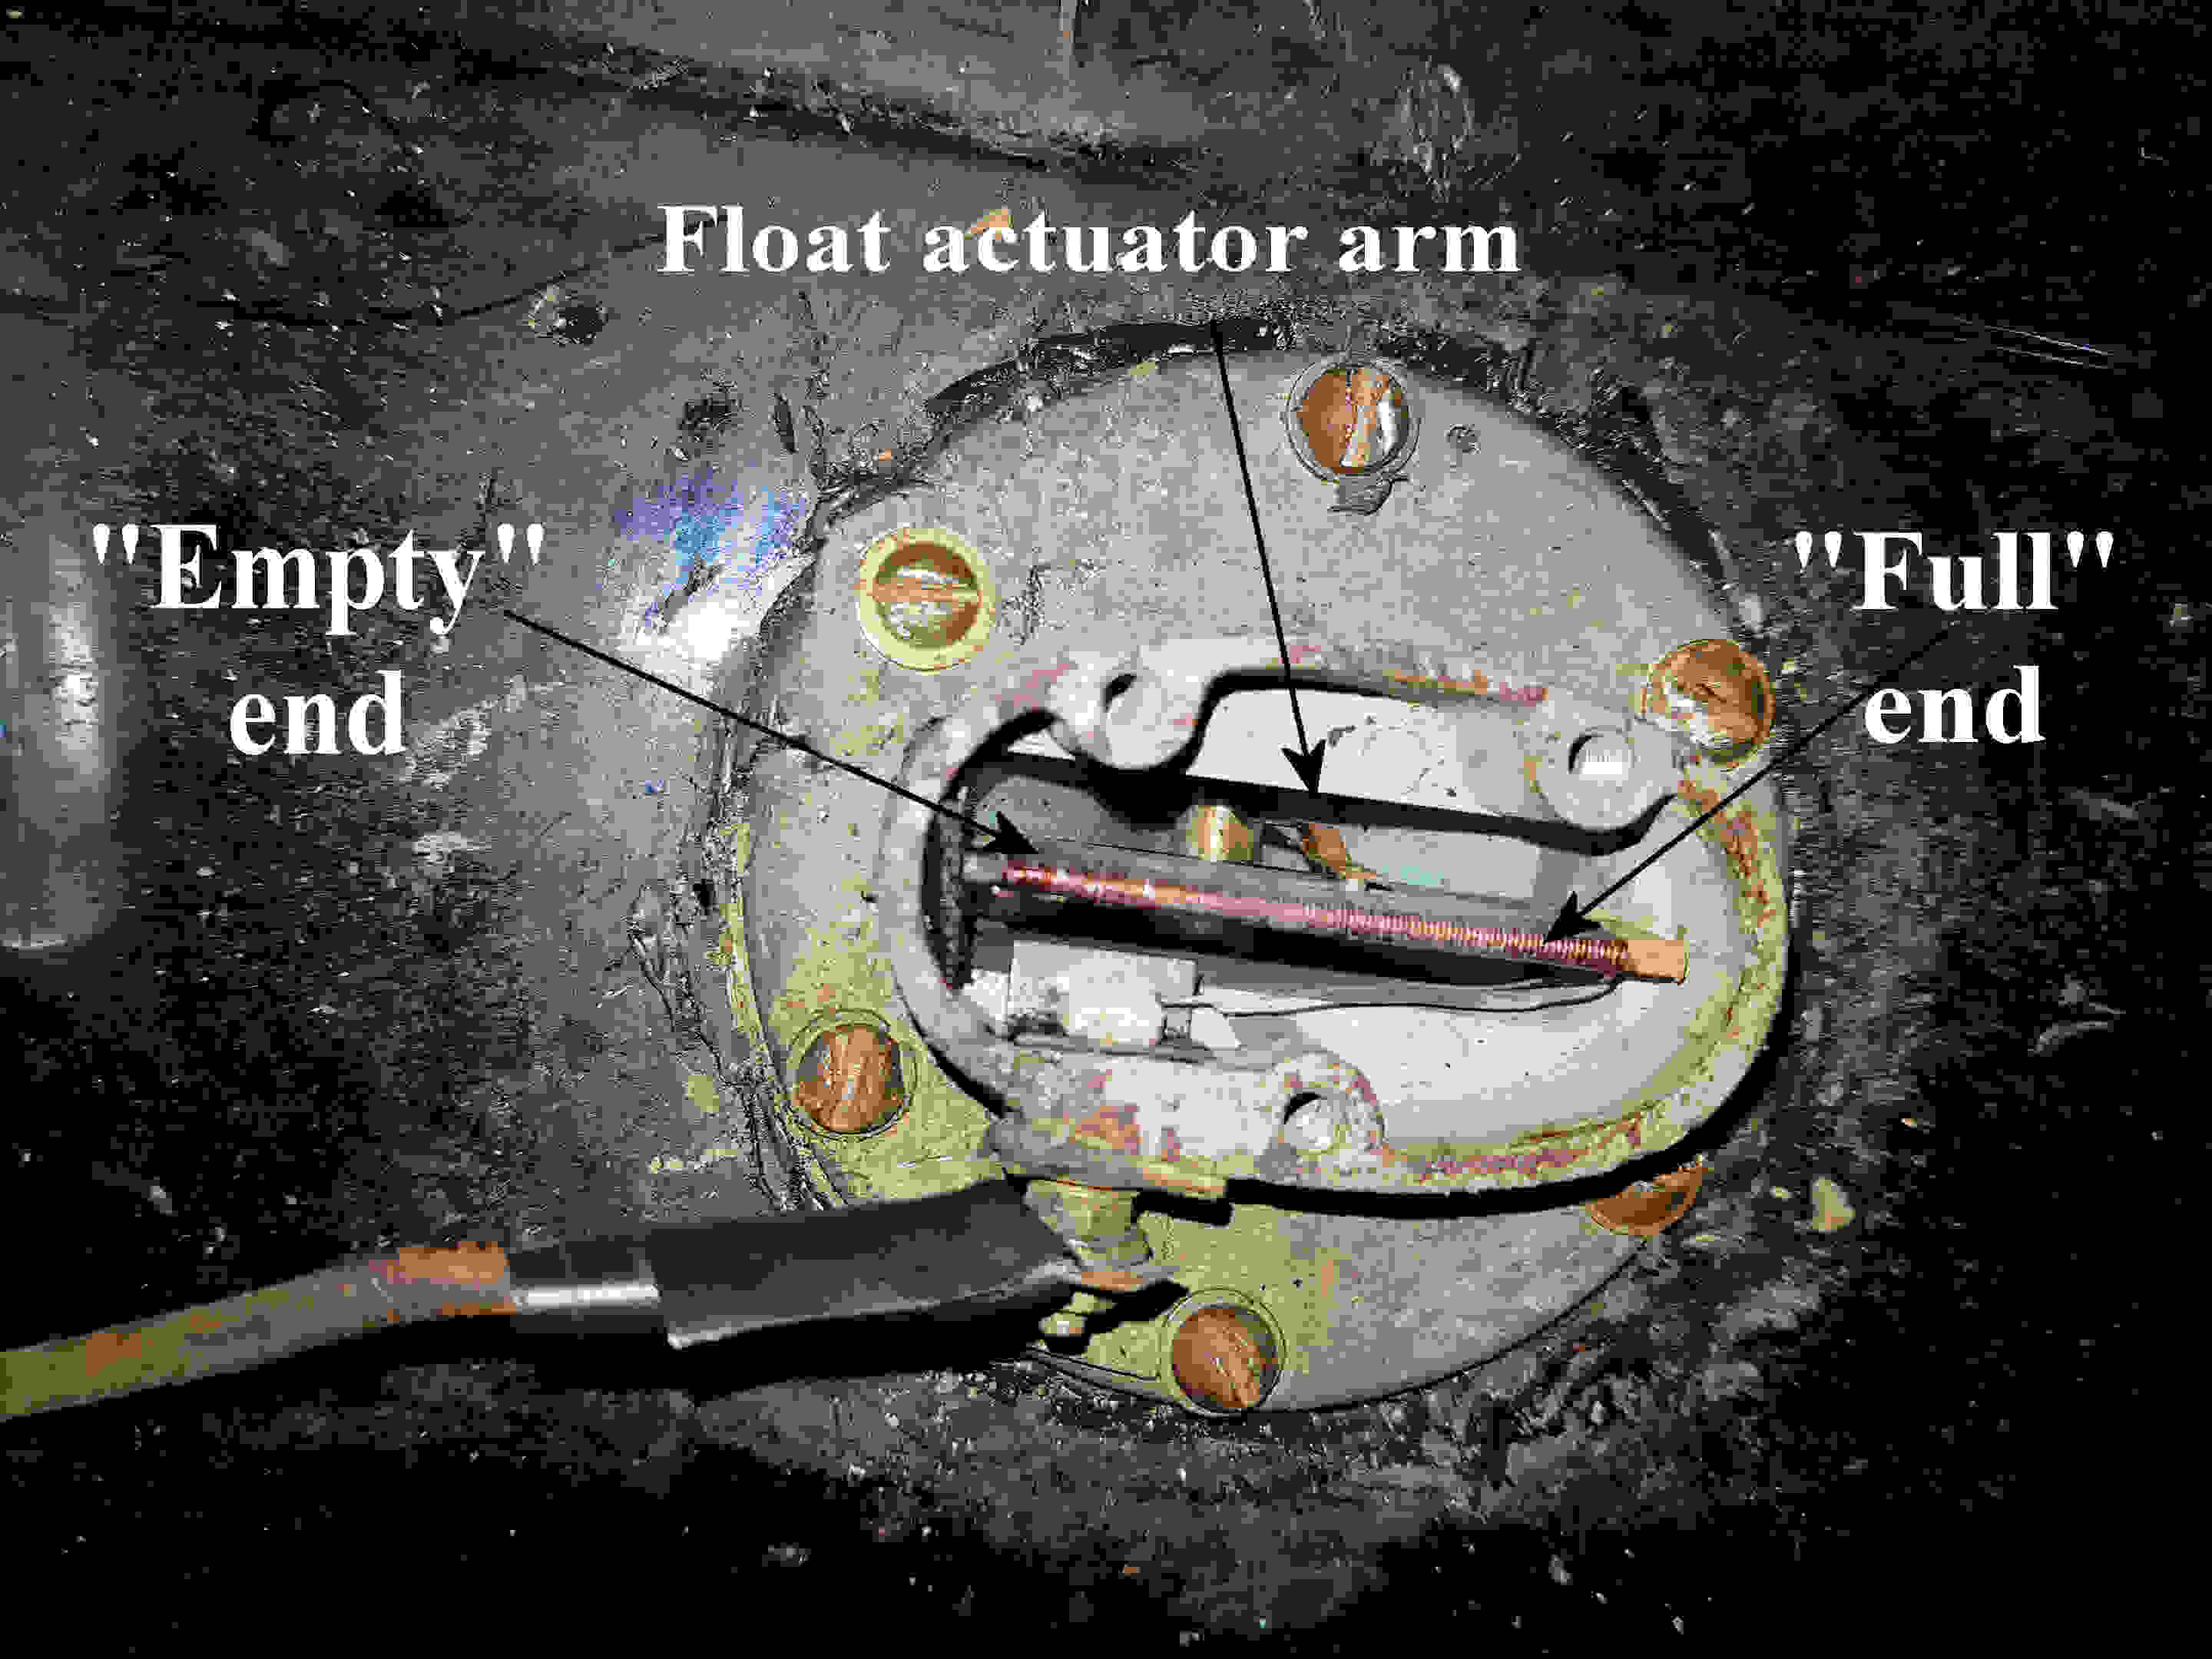 od. Ho, ho, ho!!
I did use the jack and bits of wood to raise the tank but did the holes
line up with the studs? Of course
not. That took another hour!
However, once the tank is in place the rest is a simple reverse.
od. Ho, ho, ho!!
I did use the jack and bits of wood to raise the tank but did the holes
line up with the studs? Of course
not. That took another hour!
However, once the tank is in place the rest is a simple reverse.
Points to note from my experience:
·
check the float is working physically before putting it back – mine had
mysteriously stiffened-up and needed a blast of WD40.
Unfortunately, I hadn’t tested it and only discovered something was wrong
when I had completely finished the job and switched on the ignition to test the
gauge.
·
check the sender wire hasn’t been damaged – with the ignition on, briefly touch
the end of the sender wire to earth and you should see the fuel gauge leap over
to the Full position
·
before putting everything to bed, half fill the tank with petrol to test that
the float and the gauge are still working.
Have lunch and see if there are any leaks.
·
whilst under the car, replace the in-line petrol filter if you have fitted one.
·
also, whilst under the car, I found both the rubber washers in the exhaust
brackets were baked solid so I replaced them with fresh rubber.
·
finally, check the wheel nuts.
David Whetton DA7C