Headlight Shell Repair
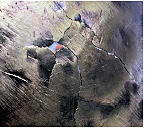
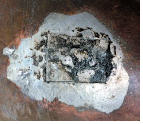
We had a couple of headlights that had suffered damage to the rear of the shell, probably due to the corner of the bonnet catchingit when the bonnet is closed. The shells had dents and splits in them which were also very thin. Instead of getting new shells, we thought that we would have a go at repairing the shells and, at the same time, see if we could strengthen the fragile end of the shell.
First the shells were stripped and then cleaned to remove the old paint and dirt. This highlighted just how damaged they were. The plan was then to solder the splits and also to install some fine brass mesh to the inside of the shell. We were able to provide some strength and thickness to this delicate part of the shell.
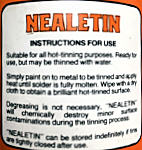
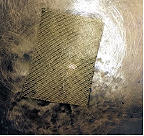
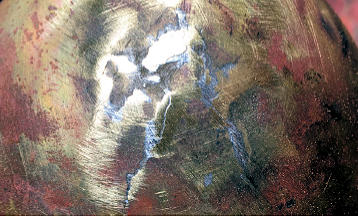
We used a product called Nealetin, which does what it says on the tin and was painted to the inside. The brass mesh was then shaped to the rear of the shell and then painted with Nealetin. The lamp was held in a vice using the headlight bolt, this enabled us to rotate the lamp as required. A heat gun was used on the inside to maintain the heat with a butane torch on the outside, with plumbing solder fed to the mesh on the inside.
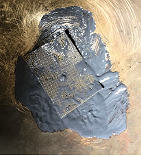
The Nealetin worked well to tin the surfaces, with the solder adhering well. A metal iron was also used to ensure the mesh stayed in place. The lamp then had a quick clean and surplice solder removed. The shell clearly needs a bit more work prior to painting but they will be back on the road soon.
Douglas Alderson
DA7C